5 SIMPLE THINGS TO MAKE WRITING A BLOG POST A MILLION TIMES EASIER
“I know I should be writing on my blog, but I don’t know where to start.”
I hear this all the time from my clients.
When you’re ready to support your business by creating blog content, writing a single post can feel overwhelming.
It involves not only deciding upon a topic BUT ALSO figuring out how to sculpt words into a cohesive train of thought. If you don’t particularly enjoy writing, the challenge is tenfold. I understand why it can feel safer and easier to push writing blog posts down to the bottom of your list.
But you shouldn’t. Especially if your goal is to use your website to help build your service-based business. Potential clients want to feel educated as they make their decisions. They also want to feel a connection with the person they’re considering hiring.
In addition, dynamic content is an excellent way to increase your business’ searchability online.
“Organic or word-of-mouth buzz is what helps build your site's reputation with both users and Google, and it rarely comes without quality content.”
With some smart prep-work, creating quality blog content doesn't have to be a pain. Even if you hate to write.
To help you begin a consistent publishing schedule, I’m sharing five things you can do before you starting writing blog posts, to help make the process feel a million times easier.
I’ve also included access to my BLOG POST STRATEGY WORKSHEET on Google Drive (button below) to help you take action with what you learn today.
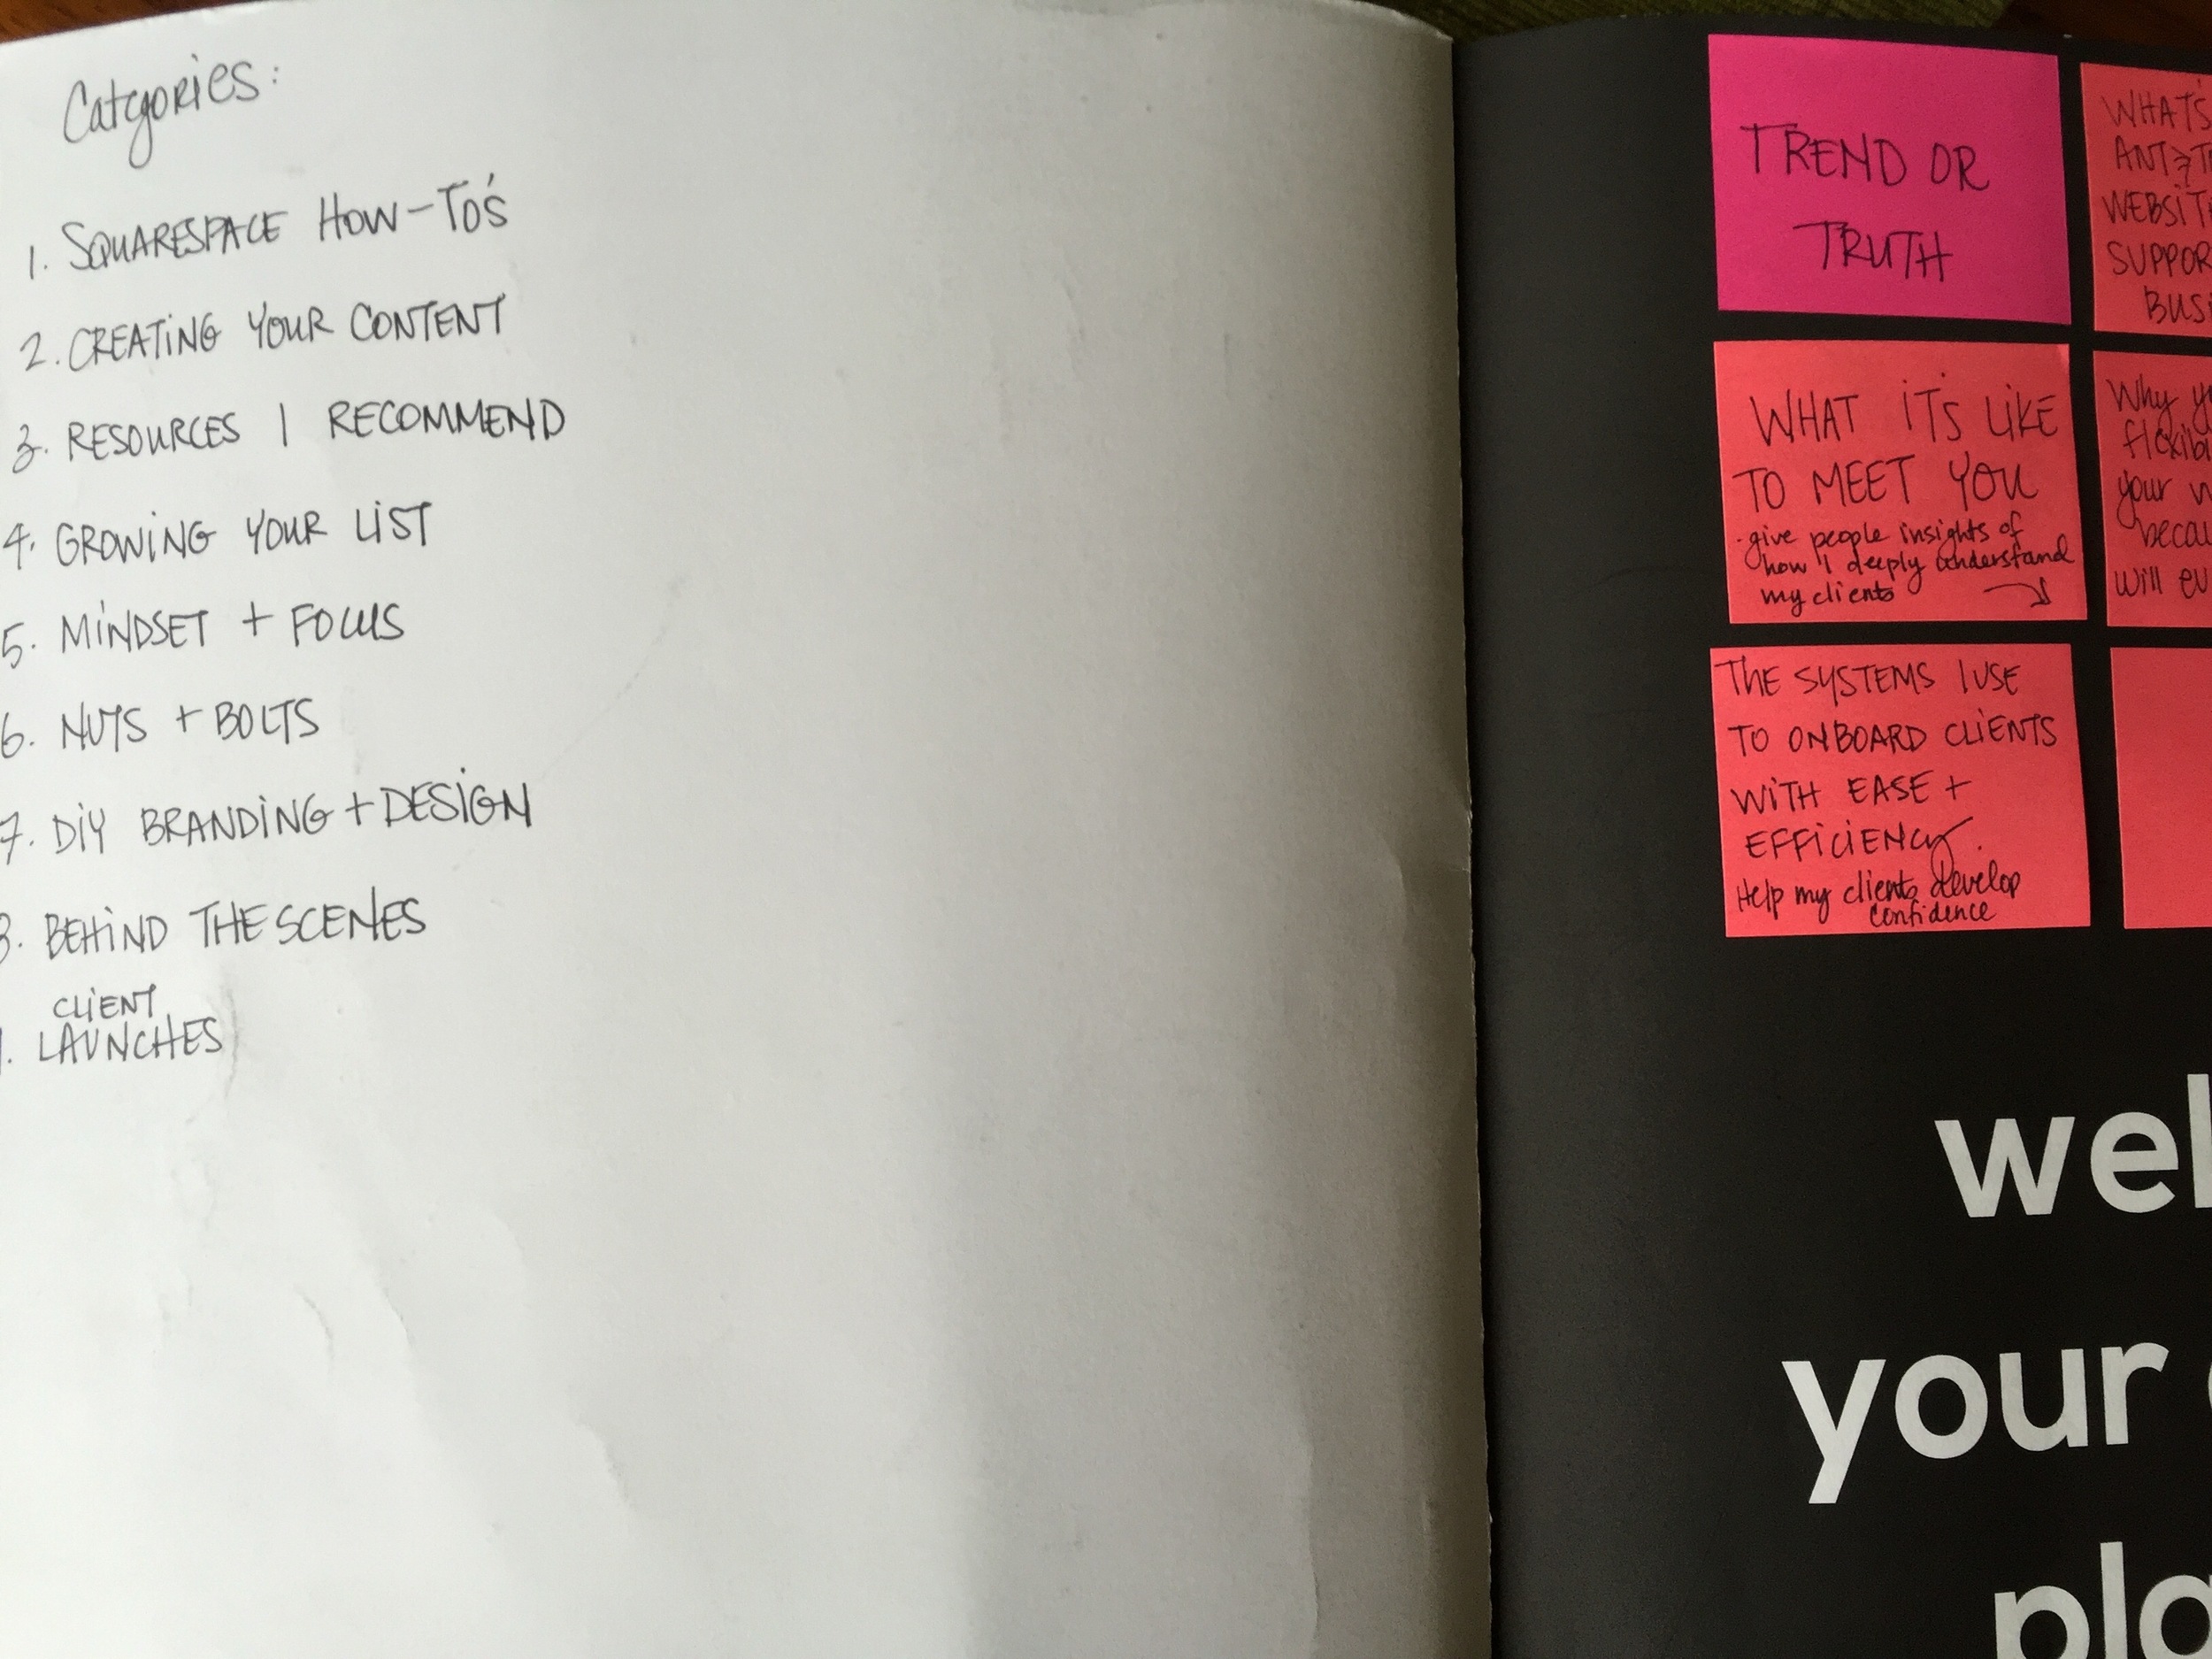
One // Decide upon the main topics you specialize in.
These are called categories. I wrote step-by-step instructions explaining blog tags and categories in great detail. But here are the basics:
Think of your blog as a dresser. You know, like the one in your bedroom.
A dresser holds lots of items, but because it has drawers, you can organize everything into convenient groups. This way when you need to find a pair of socks, you know right where to look.
Your blog works the same way. It will "hold" your posts, just like a dresser. To help readers find certain types of posts easily, you’ll want to create categories for the main topics that can be found on your blog.
I recommend keeping your categories very simple. Think in general terms—this will make your content easier to manage.
Two // Curate a list of ideas.
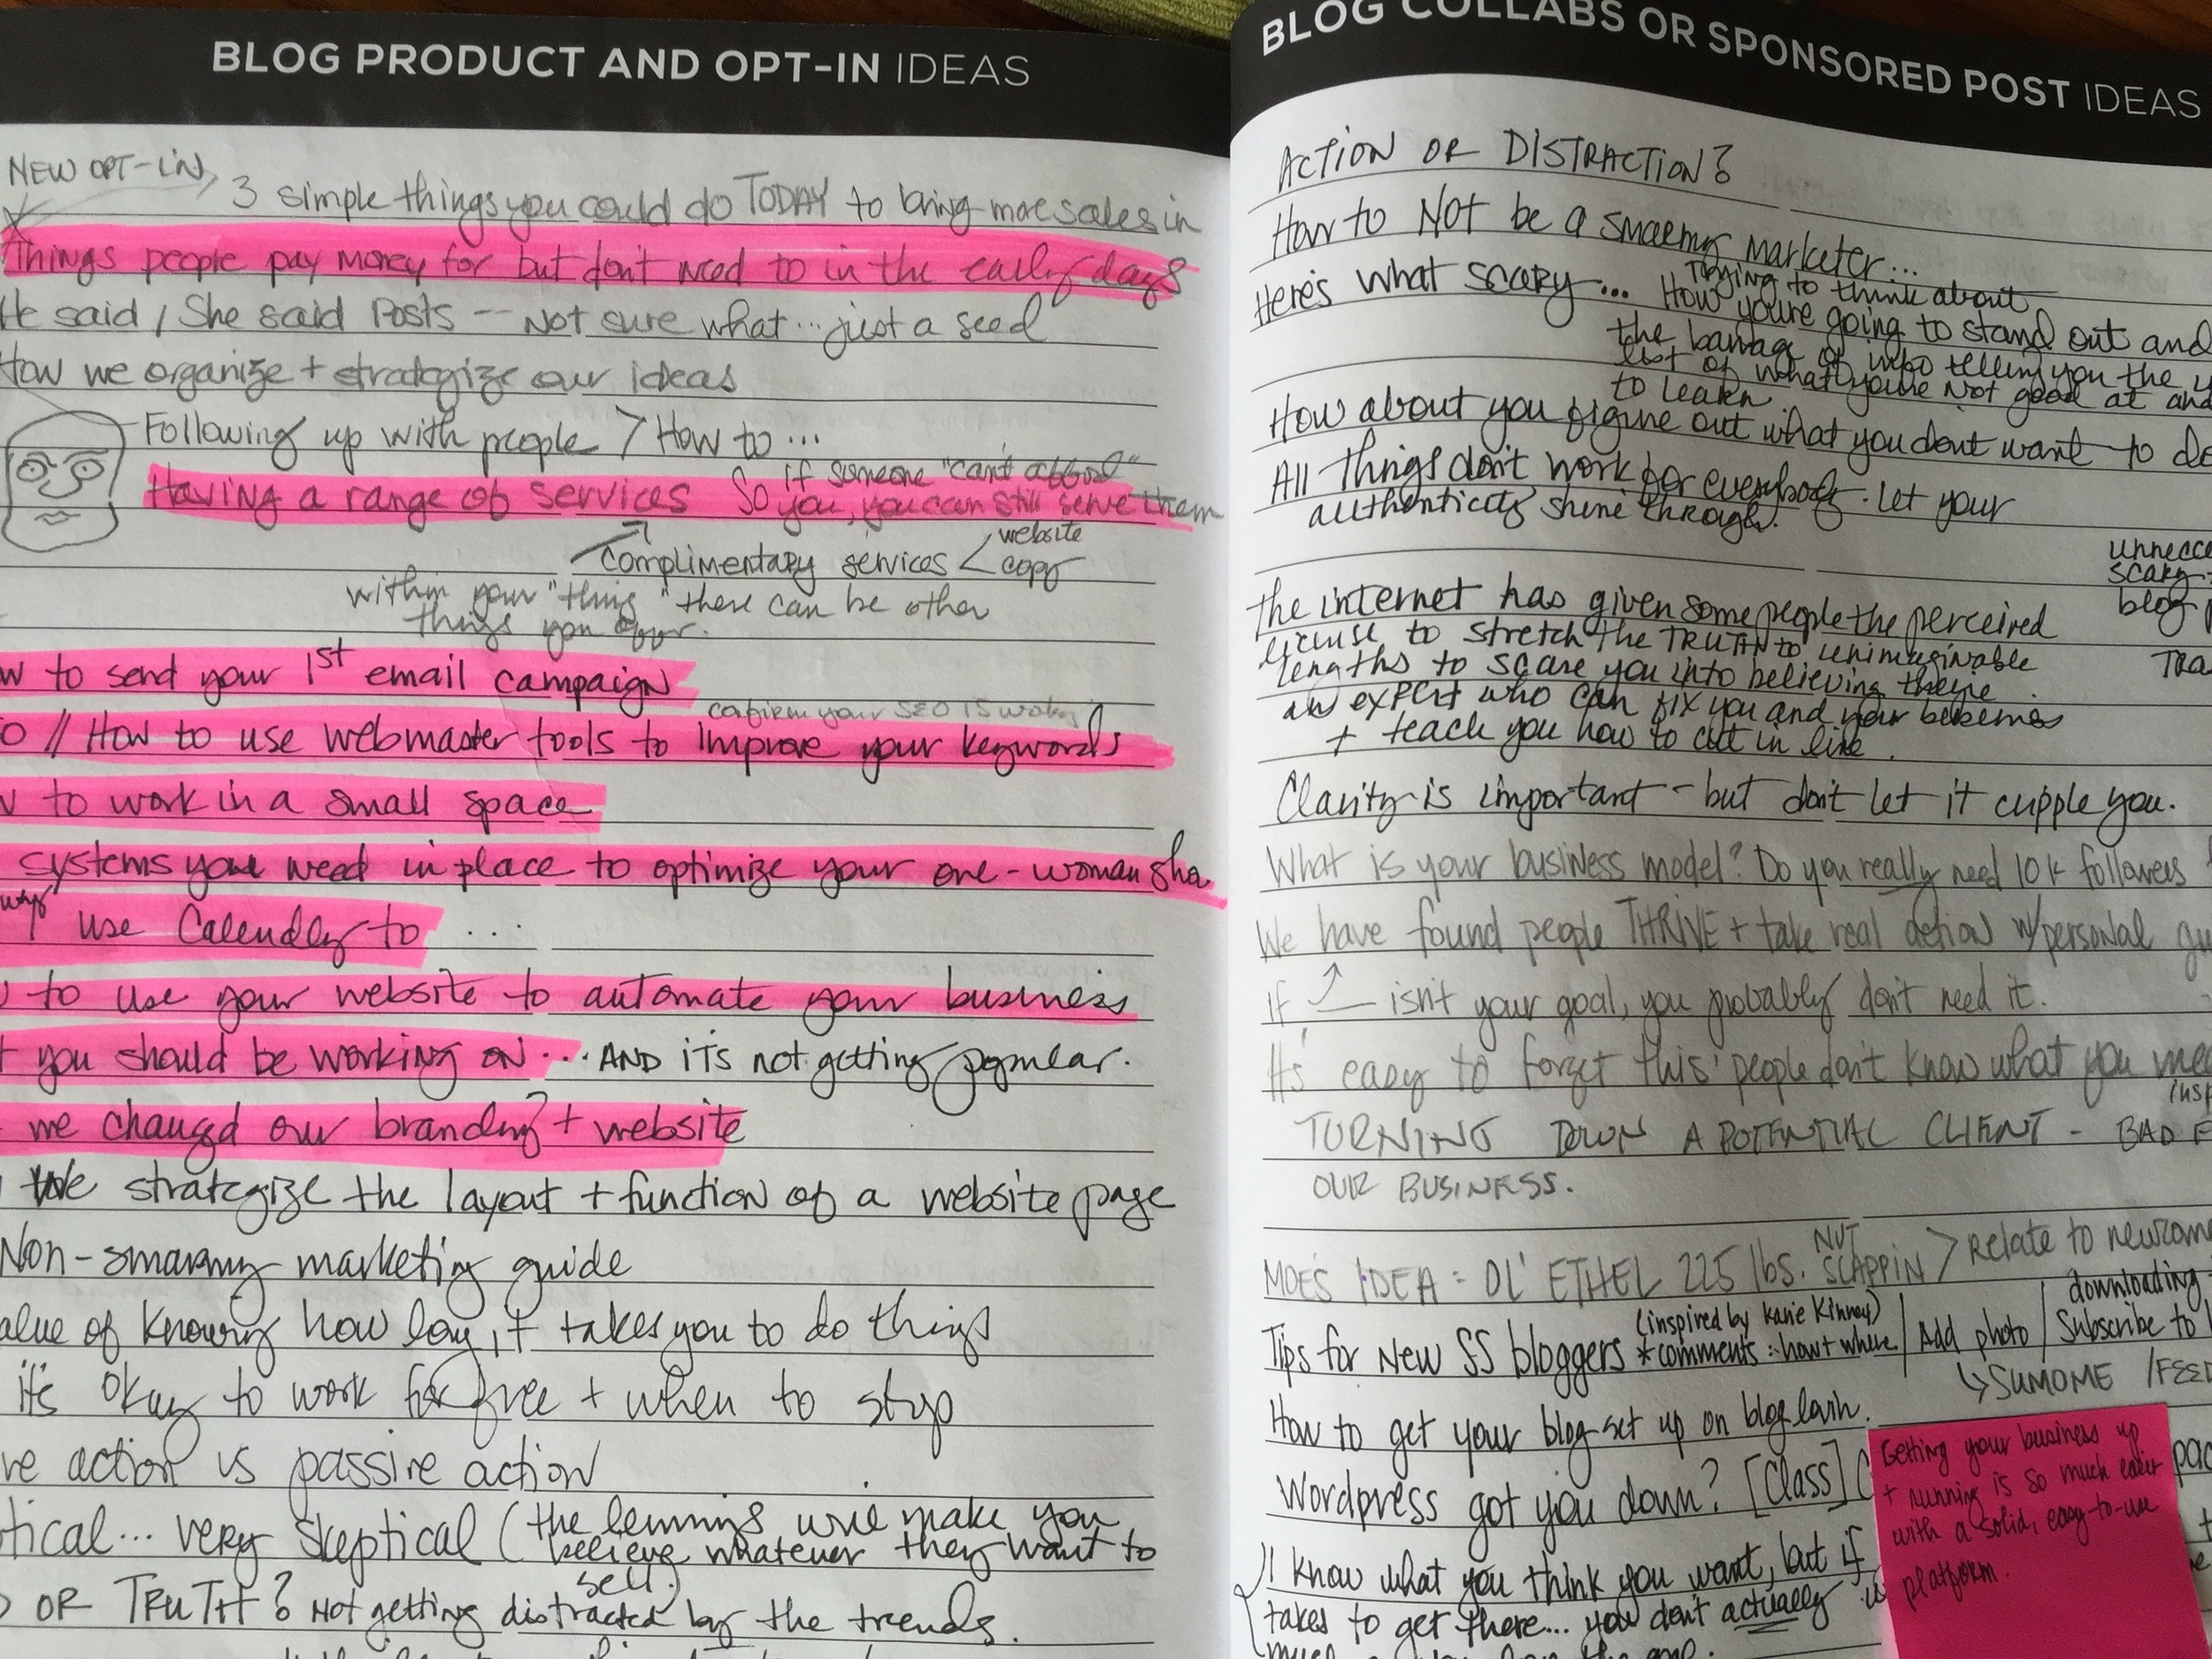
There are many tools you can use to gather your ideas but for a beginner, a simple notebook (specifically dedicated to to your blog) works great!
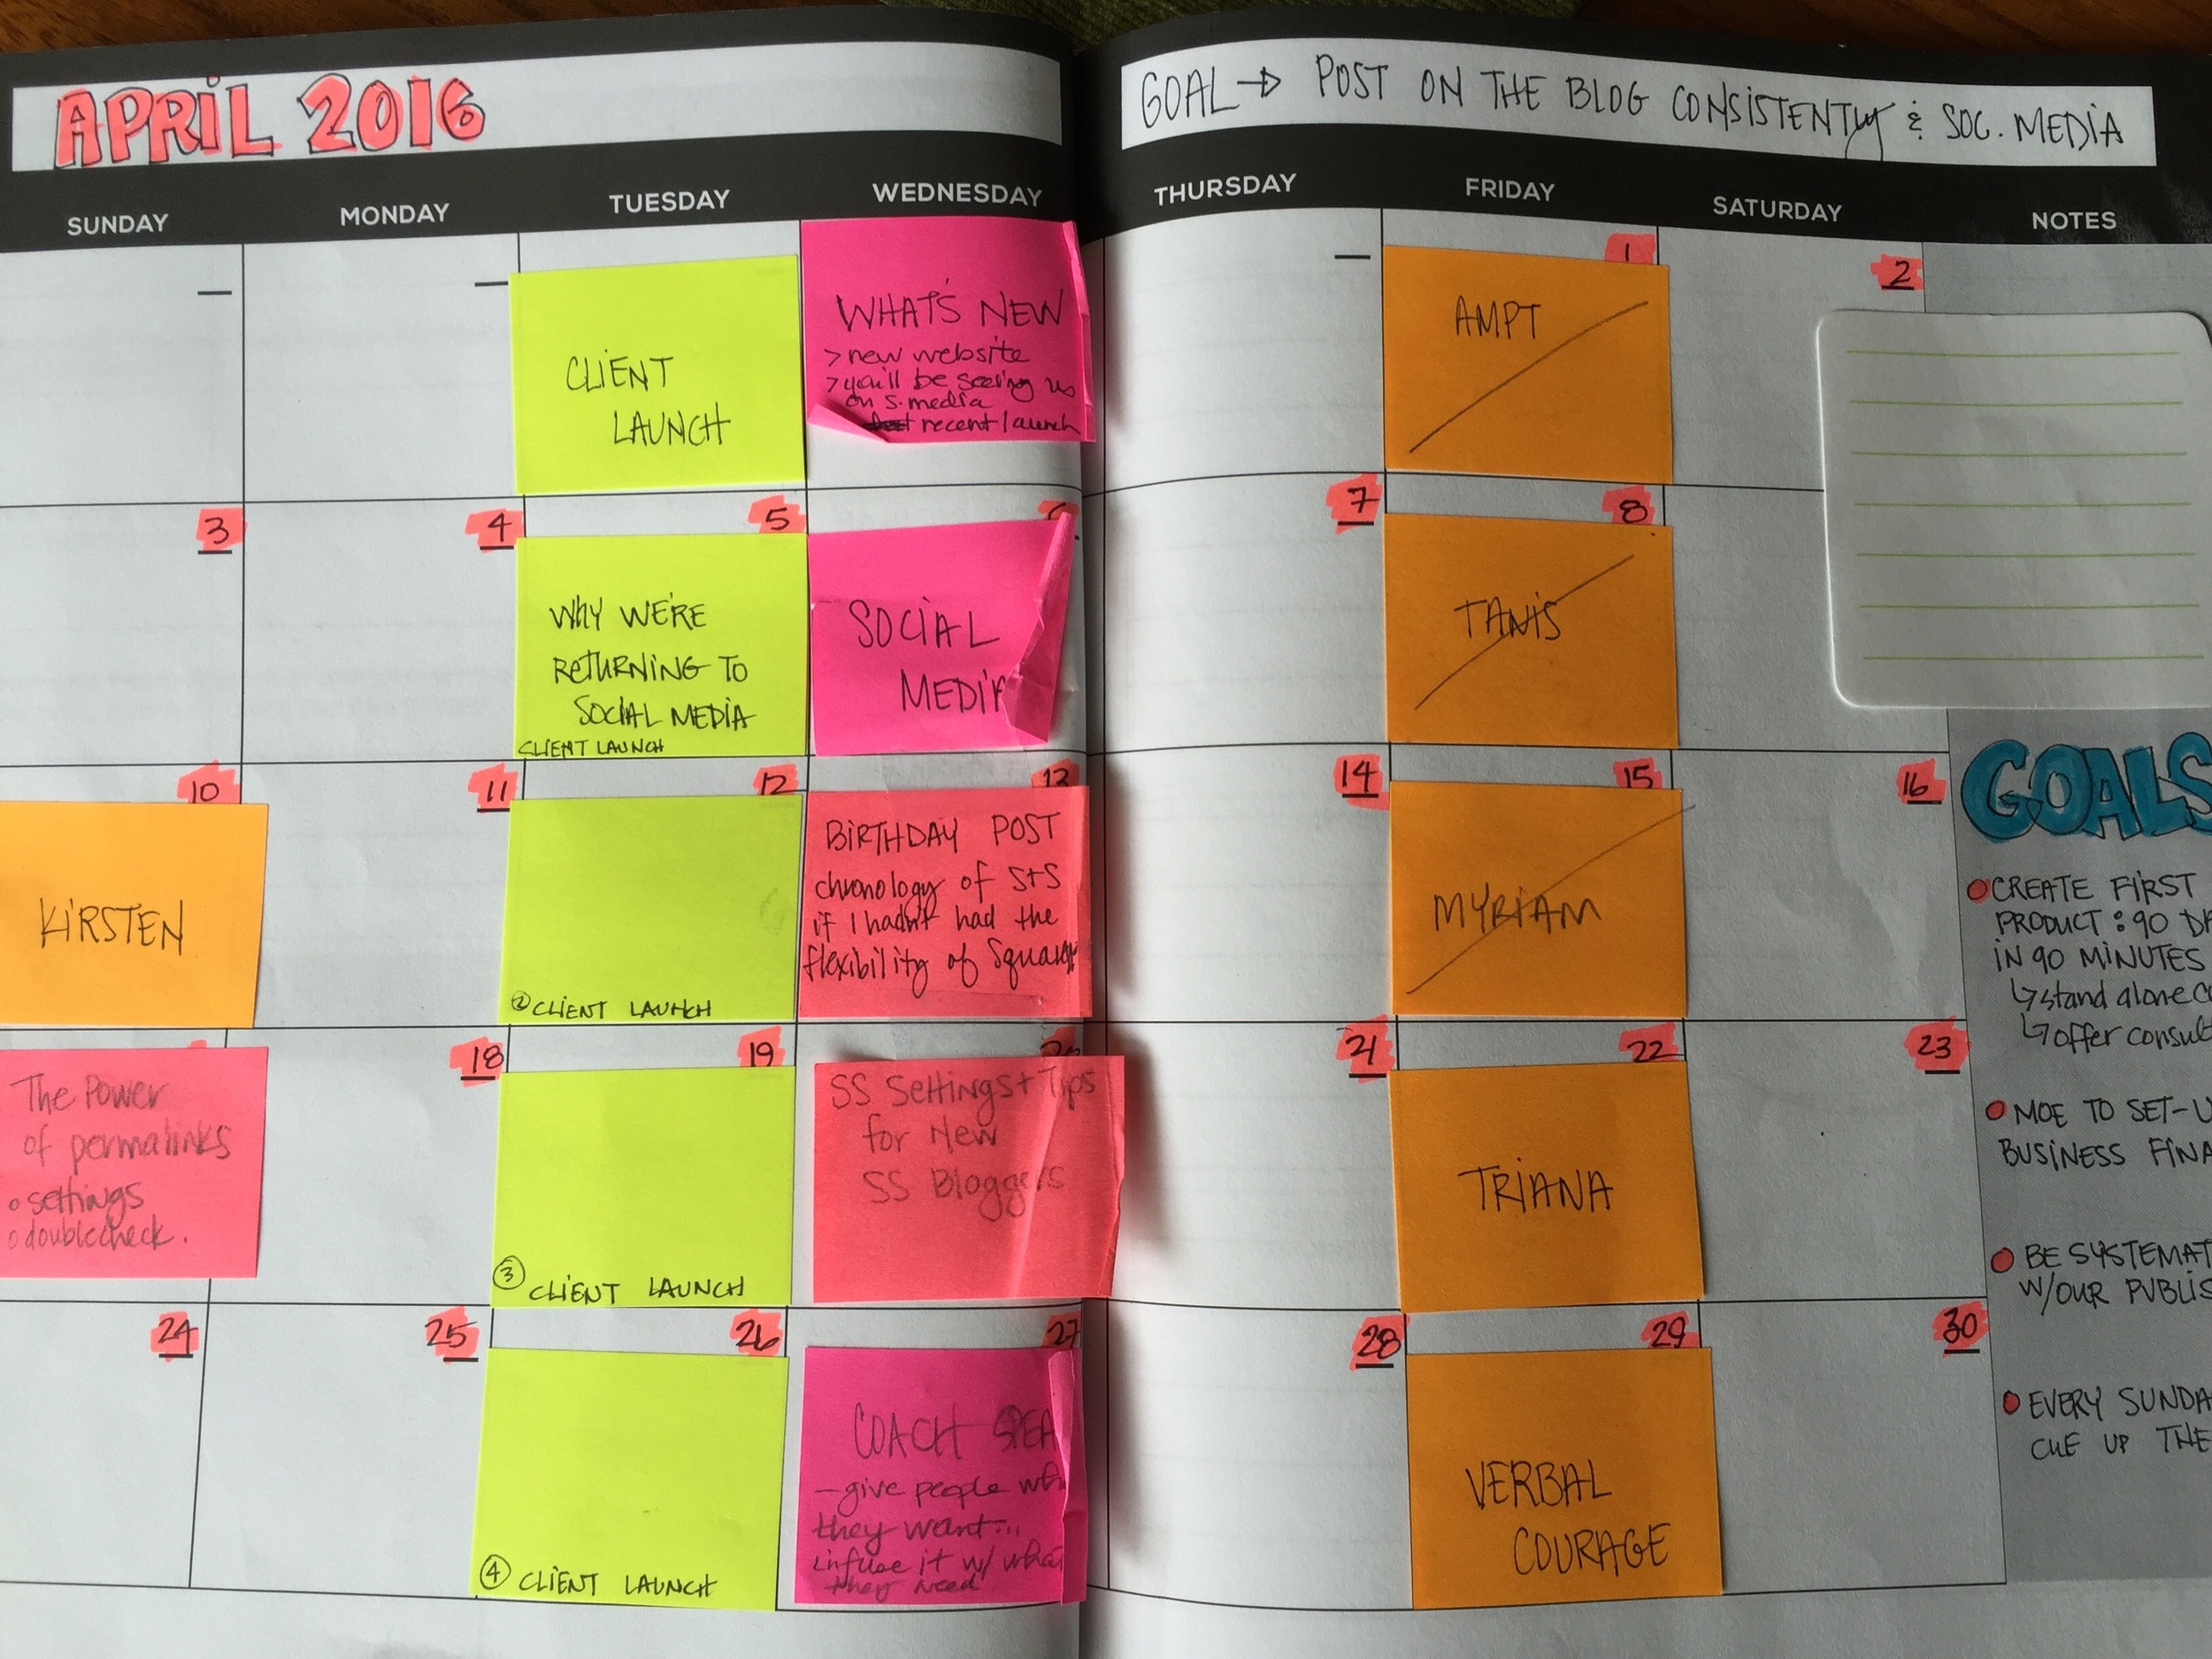
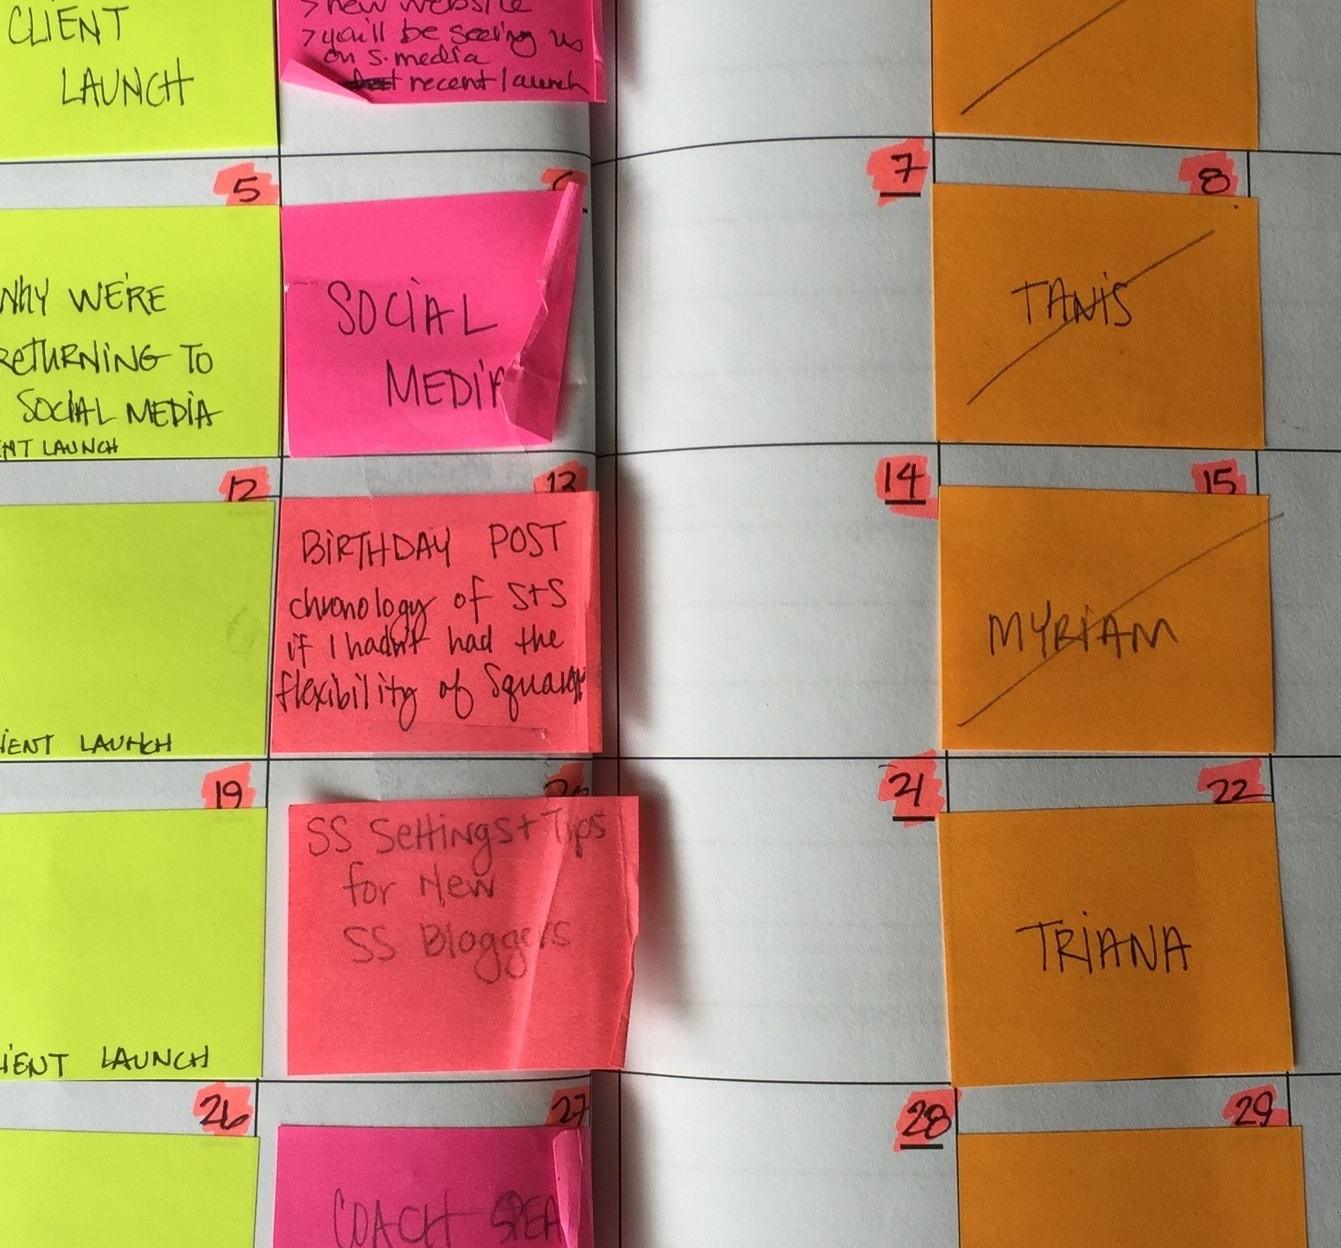
When you’re out and about and an idea pops up (due to inspiration or conversation) jot it down on whatever is handy. When you’re back at your desk, transfer your ideas from your scraps of paper into your blog idea notebook. (I use a paper blog planner. There's a slideshow below to show you how I use it.).
I've also found it helpful to add a little note to each of the post ideas in my blog planner, so later on I can remember the context for the idea. I’ll write down what inspired me. Was it a question a client asked? Was it something I read? Was it a conversation thread I saw in a Facebook group?
Adding these notes to individual post ideas helps me remember the spark of the idea, which is really useful when it comes to filling out the BLOG POST STRATEGY OUTLINE.
If you prefer to work digitally, you could keep track of your ideas with an online tool. Here are some well-loved ones (that happen to be free):
Evernote : download the Evernote web clipper and clip ideas from articles you read online. You can store your ideas in Evernote notebooks.
ASANA : use this free tool to keep lists of things organized (task lists, blog post lists, processes lists, etc.)
Google Drive : set up a document that functions as your digital blog idea notebook.
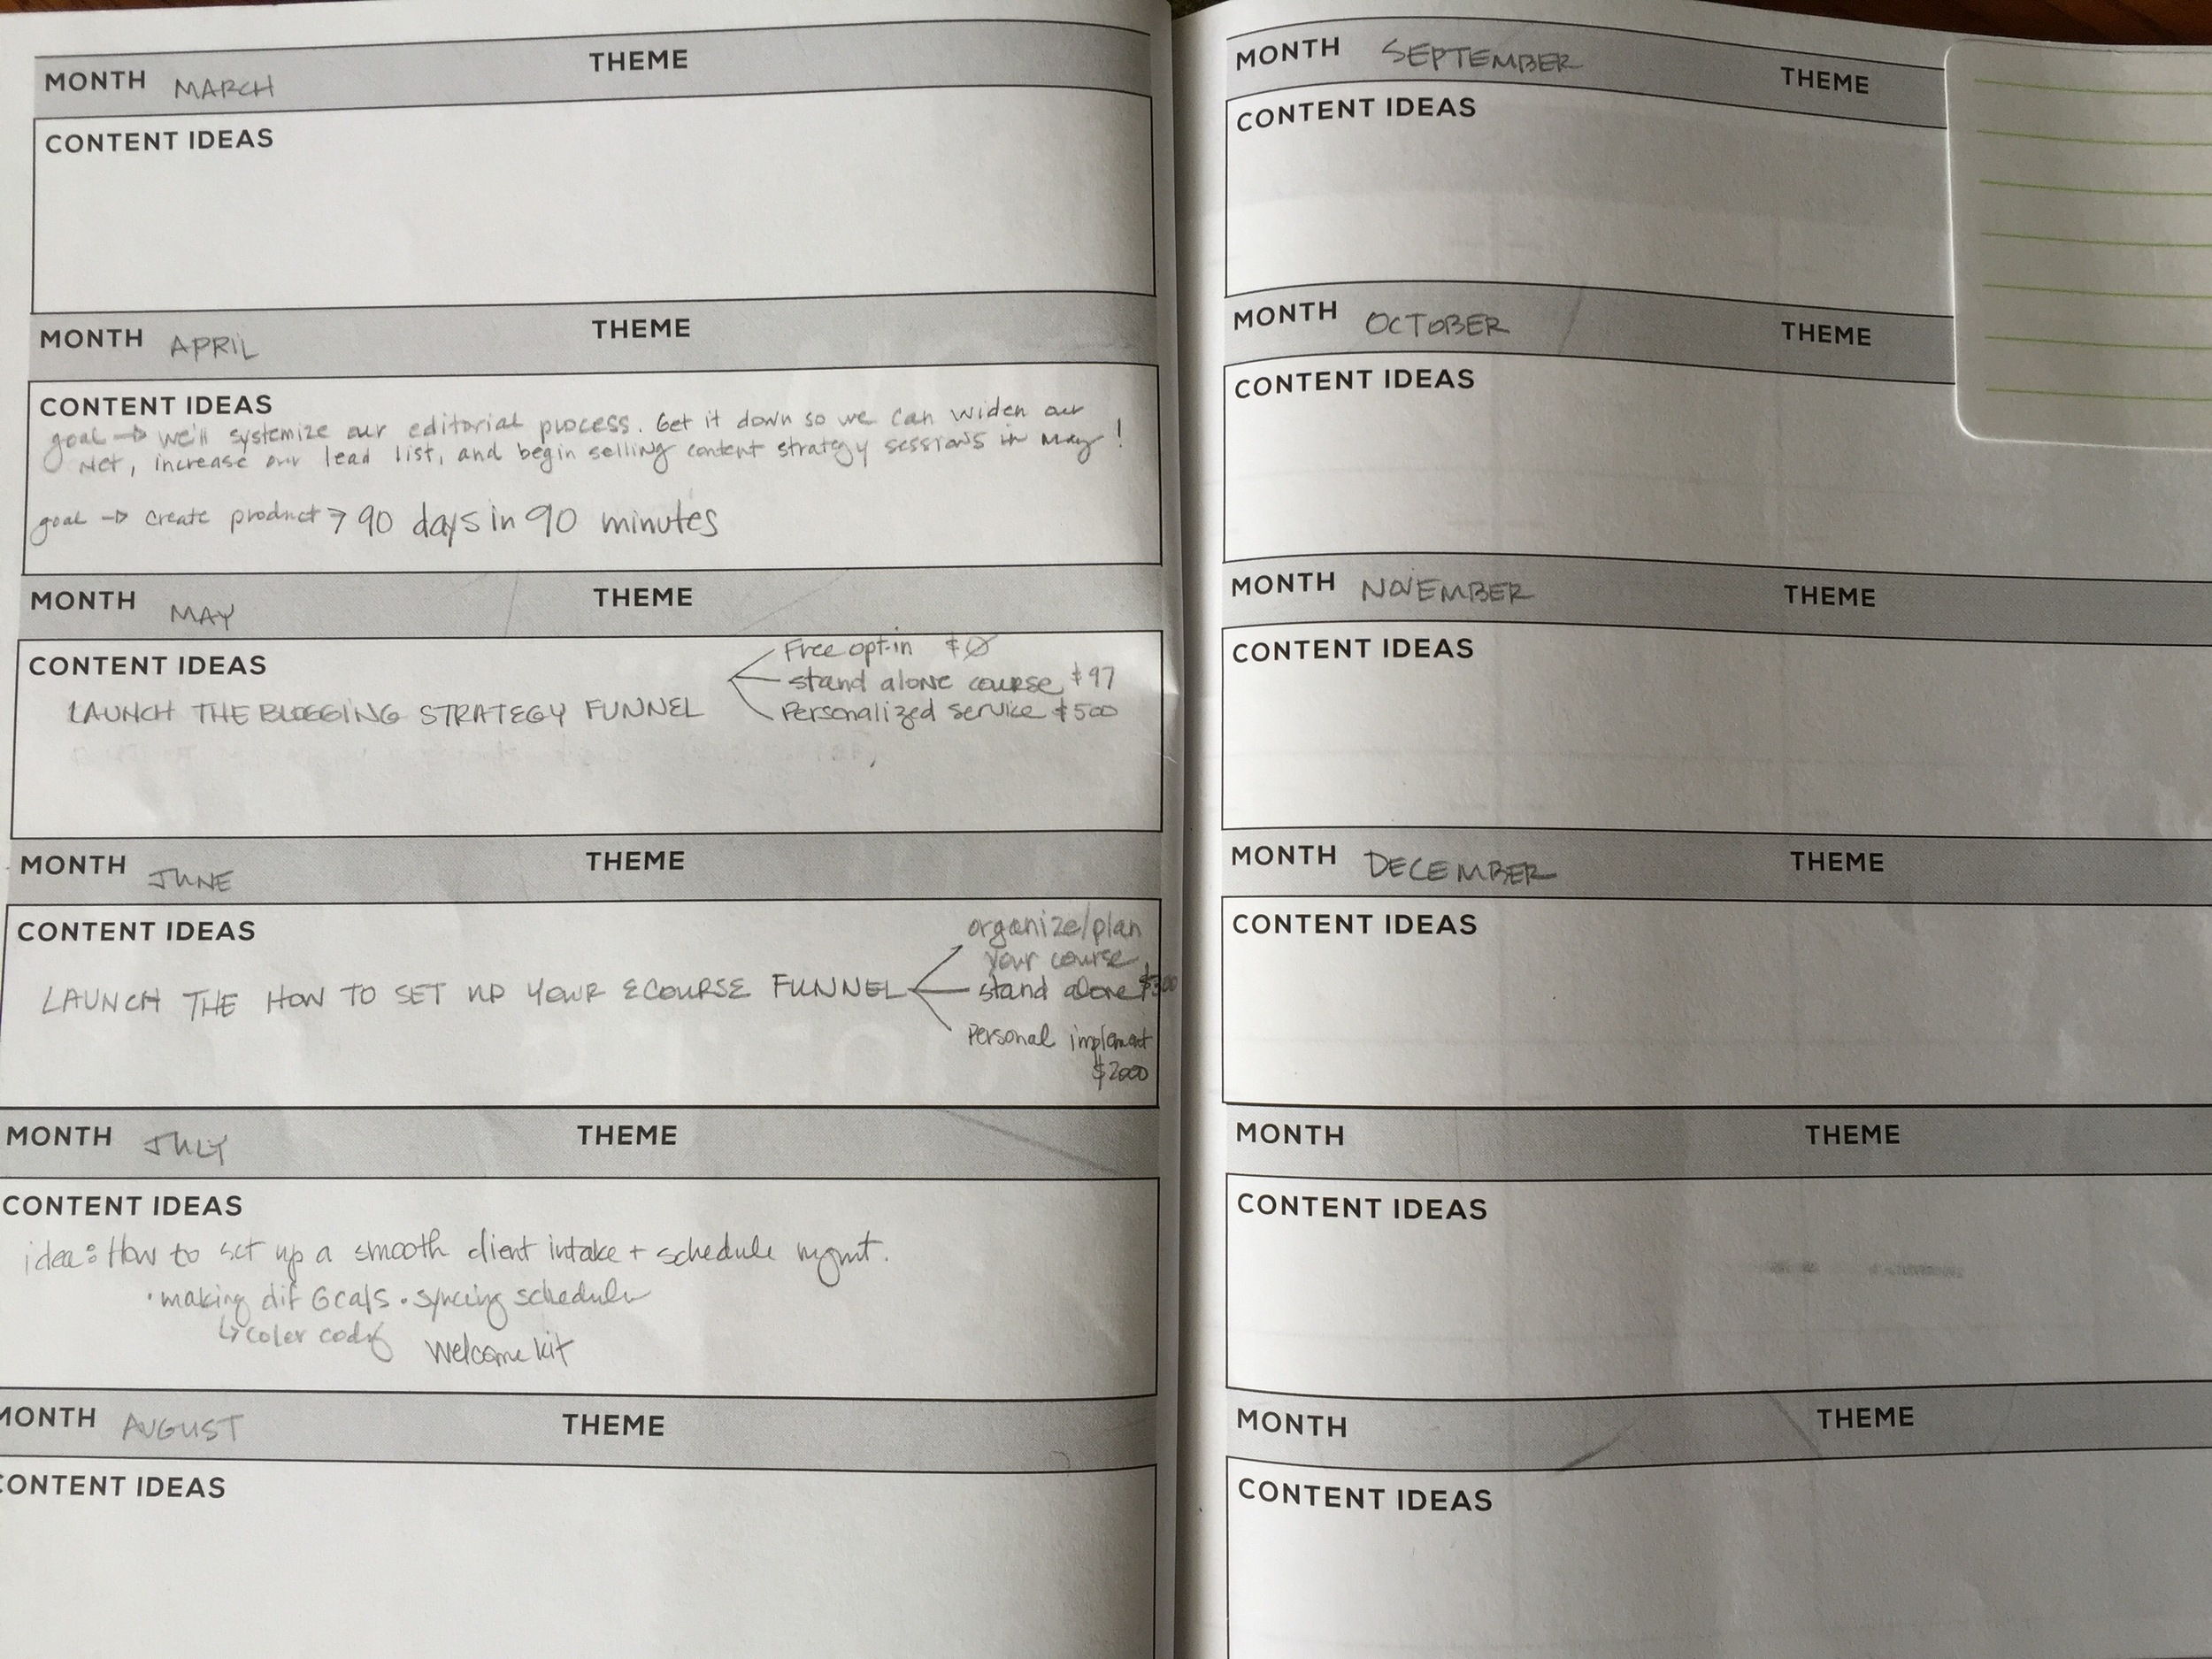
Three // Use a calendar to see how many posts you will write in a month and decide upon publishing dates.
When you look at blogging as a whole, you might freak out about how many posts there are to write and that might paralyze you. Keep in mind, you’re looking at the big picture and yes, that is overwhelming because it’s infinite.
But when you look at a specific period of time on a calendar, you’ll see that you only need to create a few posts (depending on how frequently you want to publish). It’s much easier to wrap your brain around writing a few posts than writing an infinite number of posts.
Here at Simple & Soulful, we’ve committed to publishing on our blog once a week. Every Tuesday. That means we only need to create four posts each month.
For an entire business quarter (three months) that adds up to twelve articles. For us, that feels doable. Certainly it’s possible to dive in and do more, but with our production and coaching schedule, once a week feels like a good fit for now.
Once you can see how many articles need to be written for a single month (by looking at a calendar), you can choose your publishing dates.
Four // Select individual posts for your publish dates.
A good way to select posts from your curated list is to think about what you have going on in your business.
Are you a speaker who has an upcoming gig and you want to fill some seats?
Are you a life or wellness coach who is adding a new offer to your services?
Are you a consultant who is expanding your services from one-on-one sessions to online classes?
Are you a teacher, trainer, or writer who is hosting a workshop soon?
Whatever you have going on in your business—select blog post topics that educate your ideal clients about aspects of it.
I don't recommend writing posts to straight up promote your work because that will probably get tuned out.
People don’t read your blog to hear all about you. They read your blog because they’re hoping you have some insights, wisdom, and experience to shift their perspective and help them along in life.
So give readers little sips of what it’s like to work with you by using your blog as a place to help make your readers’ lives easier!
Think about it—you do your work for a reason. What is it? I’m sure if you dig under all the surface reasons you’ll arrive at: I desire to help people.
Well, your blog is a great place to help people!
Teach concepts that are your specialty
Share stories about how you overcame certain obstacles (that your readers may be experiencing)
Give behind-the-scenes glimpses of how you work and the tools you use
Answer questions you hear over and over
Use your blog as a place to uplift and elevate people in ways that are unique to you, your business, and your story. If you can help someone do something new—create a meaningful result—you’ve begun to build a relationship based on trust and credibility.
Five // Flesh out post ideas before sitting down to write.
When I try to write a blog post in one fell swoop, it’s like my brain is a pasta strainer. Everything comes out at once, in a million directions.
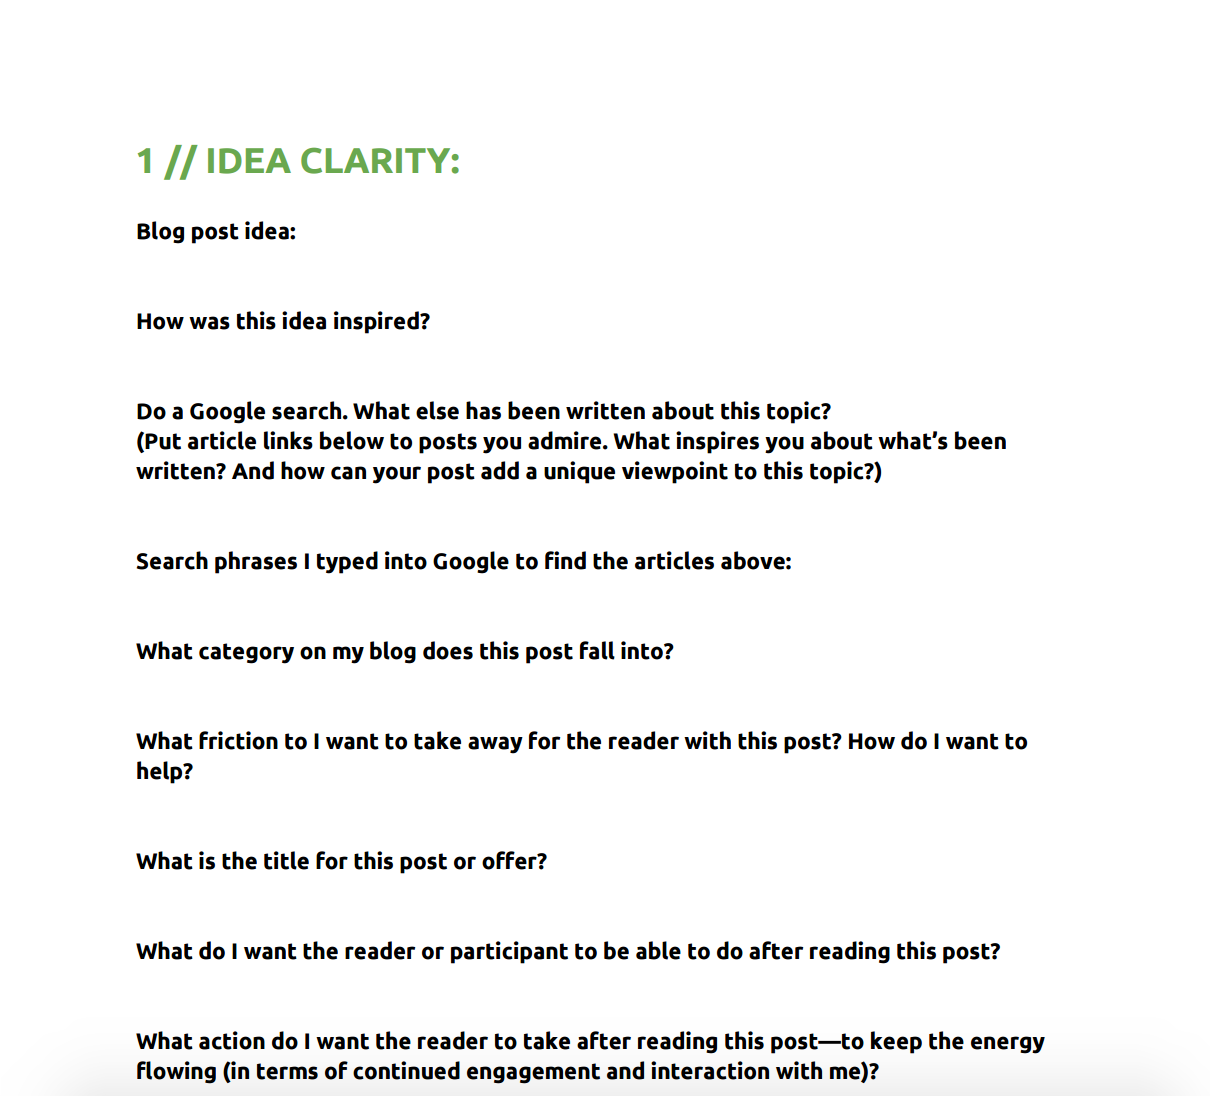
Because of this, I use my BLOG POST STRATEGY OUTLINE. It’s a worksheet I created in Google Drive to help contain and organize my thoughts.
The first part of the exercise involves excavating an idea and doing a bit of research to see what has already worked (no need to reinvent the wheel—just give it my spin).
The second part helps me outline my thoughts into a cohesive format.
And the third section is where I copy and paste parts of my outline and connect all the dots—to create the actual post.
Trying to write my posts from start to finish didn't work for me. It took forever. Plus, I found that as I wrote, I’d veer off topic or get a bit self-indulgent.
Now that I use my worksheet, I feel guided to stay on track with the goal of each article.
What friction do I want to eliminate for the reader with this post?
Each time I begin fleshing out a post, I simply create a copy of the worksheet on Google Drive and start filling it out. I don’t have to do this all at once. In fact, I schedule ½ hour each day for writing. This way I can chip away at it throughout the week. By the time it comes to writing the post and uploading it into Squarespace, I’m ready. The title is written, the post is written, the categories and tags have been decided upon, the summary has been written. I even create the graphic for my post (CANVA works great for this—also free) and add it to my worksheet.
So there you have it! The five things I do before I write my blog posts! Using this process has made publishing on my blog a million times easier.
Here’s a recap of how this works in my business:
I'm a pen & paper gal. My favorite blog planning tool is the Epic Blog: One Year Editorial Planner by Regina Anaejionu. If you'd like to purchase one for yourself, simply click below!
After I complete the steps above, I’m ready to load the post into Squarespace. If you work with a virtual assistant, you could pass the Google Doc worksheet to that person—to handle the rest for you!
I hope I've given you some good ideas to incorporate into your blogging process. My goal was to break the BIG SCARY SHADOW MONSTER of publishing blog content into a series of really doable prep steps that make blogging for your business feel a million times easier.
In the early days of going through this process, it may take you a while. But do keep a healthy perspective. Learning anything involves practice. Over time it will get easier and feel more automatic. Which is even more reason to get started now! Good luck!